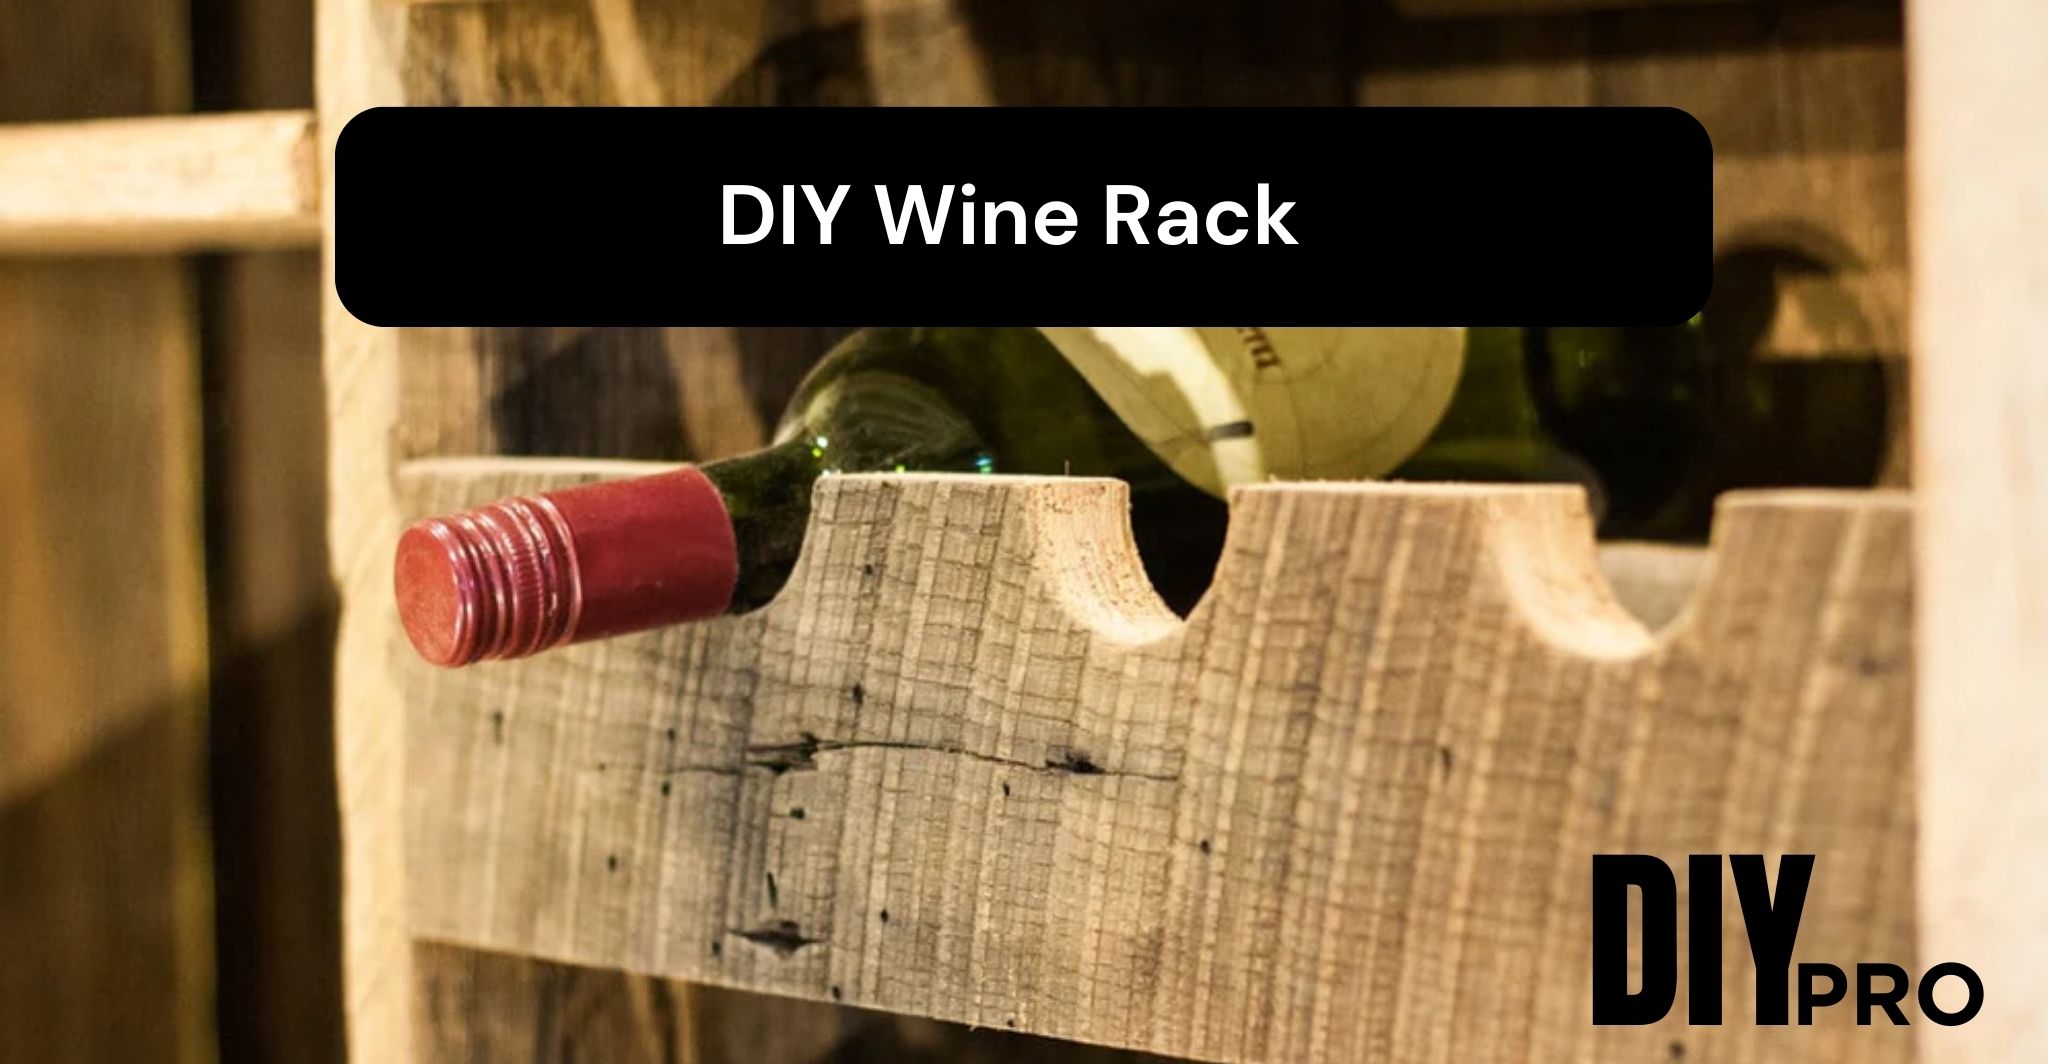
Grace your space with a trendy and sleek wooden wine rack! Especially now that you have a basic understanding of DIY wood projects, let’s dive into a step-by-step guide for a beginner-friendly project: a DIY wooden wine rack.
Step 1: Gather the materials and tools
To build a DIY wooden wine rack, you will need the following materials:
The tools required for this project include:
Step 2: Measure and cut the wood
Start off by using a tape measure and a circular saw or miter saw, measure and cut the pine boards according to the desired dimensions of your wine rack. Also, it’s recommended to cut the sides, top, and bottom pieces first.
Step 3: Sand the edges and surfaces
After that, use sandpaper to smooth out any rough edges and surfaces of the cut wood pieces. Sanding will ensure a professional and polished look for your wine rack.
Step 4: Assemble the wine rack
Now, apply wood glue to the edges of the side pieces and attach them to the top and bottom pieces. Secure the joints using clamps and allow the glue to dry completely. And then once dry, reinforce the joints by drilling pilot holes and screwing the pieces together.
Step 5: Finishing touches
Sand the entire wine rack to achieve a smooth finish. You can then apply a stain or paint of your choice to enhance the appearance of the wood. Allow the finish to dry before placing your favorite bottles of wine on the rack.
Conclusion
Embarking on DIY wood projects is certainly a fulfilling and rewarding endeavor, allowing you to unleash your creativity and create unique pieces that reflect your personal style. By starting with simple projects, gathering the essential tools and materials, and following safety precautions, you can confidently dive into the world of woodworking. So, grab your tools, choose a project, and experience the joy of building with wood firsthand.
Now, go forth and explore the wonderful world of DIY wood projects!
Leave A Comment