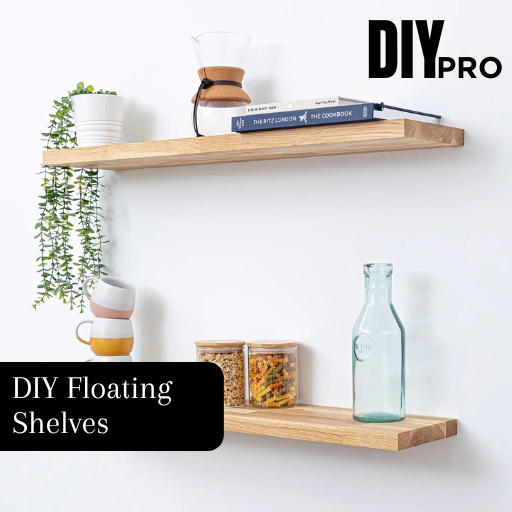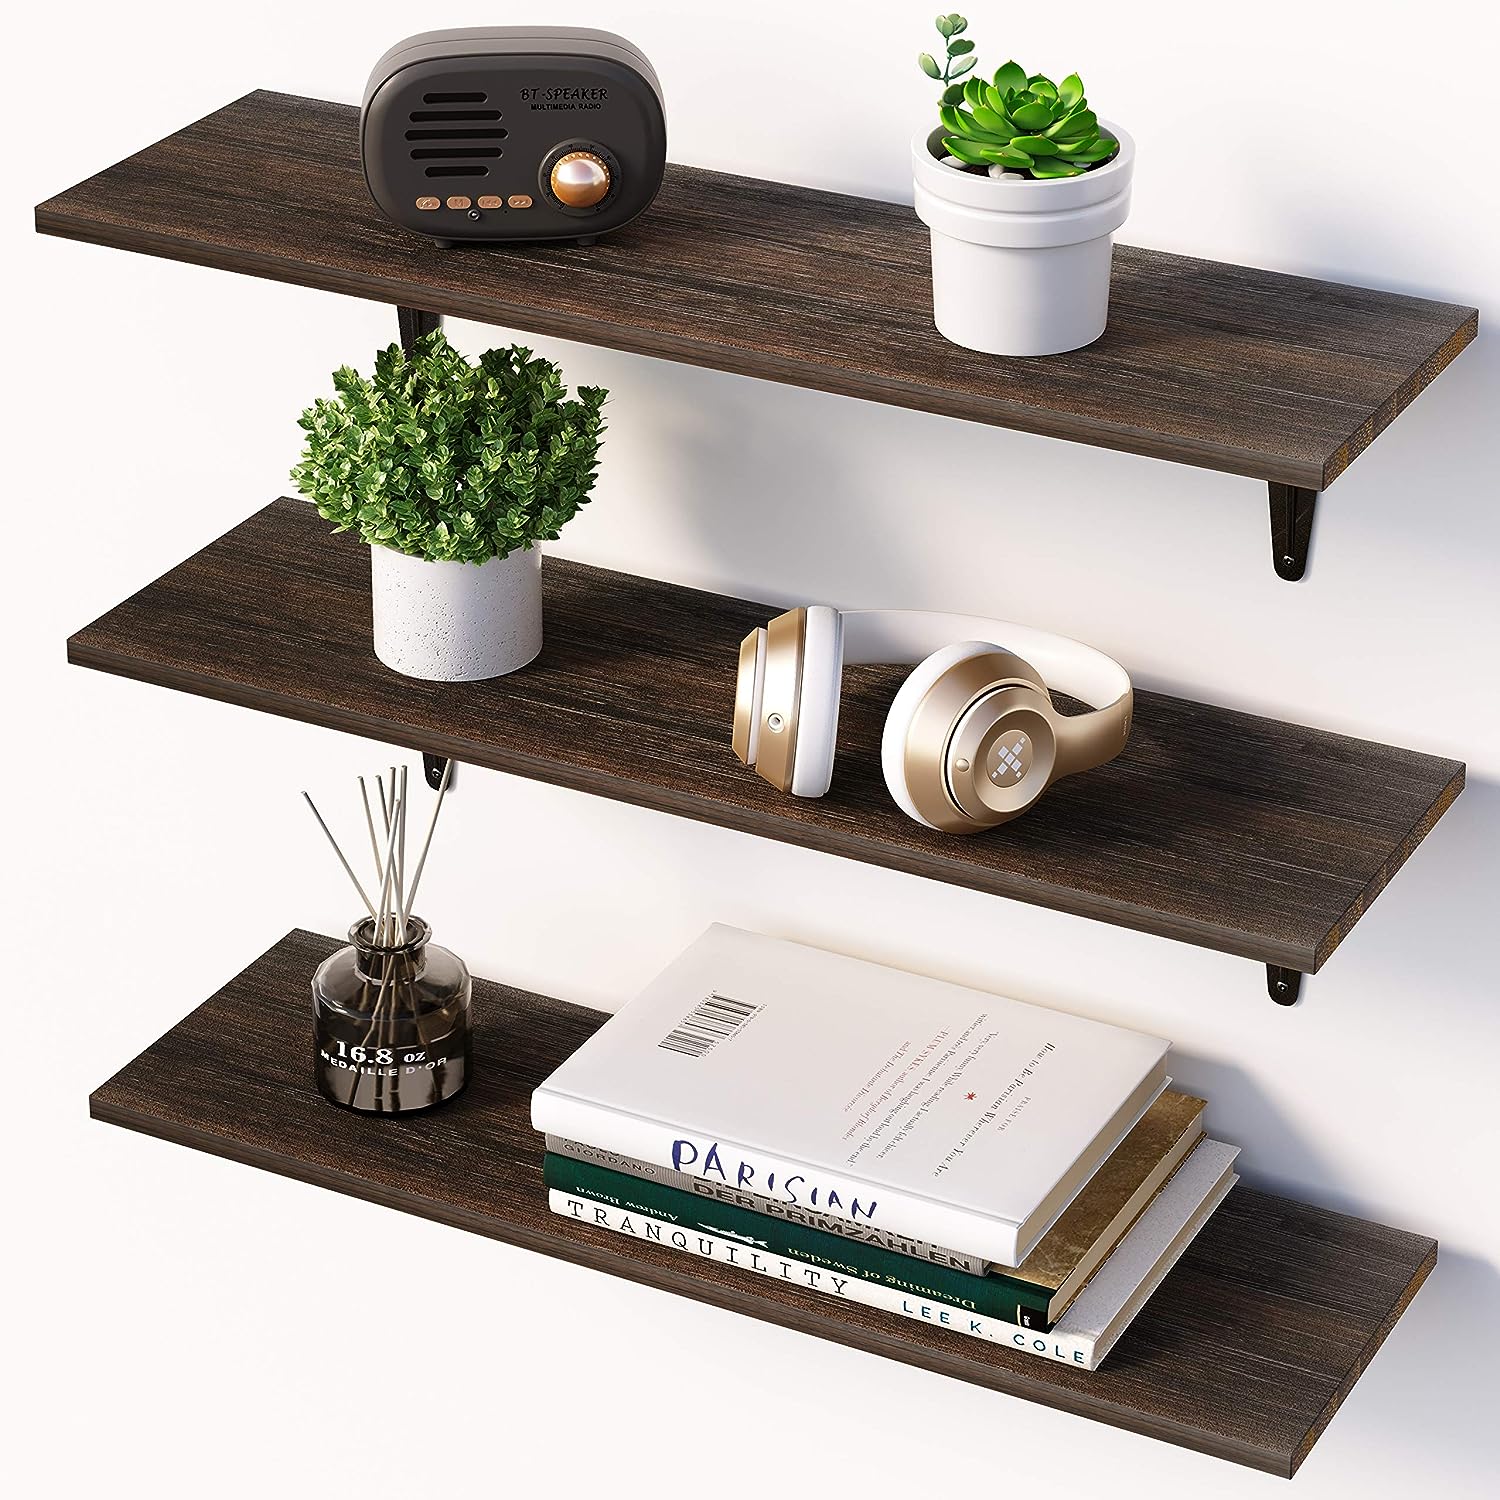
Are you tired of the clutter in your home? Do you wish you had more storage space to showcase your favorite decor items? Look no further! In this article, we will show you how to create your own DIY floating shelves that not only provide practical storage but also add a touch of elegance to any room. Floating shelves are a popular choice for homeowners who want to maximize their space while achieving a stylish and modern look. Whether you want to display your book collection, family photos, or decorative items, these shelves are the perfect solution.
Our step-by-step guide will walk you through the process of building your own floating shelves from scratch. You don’t need to be an expert carpenter – with a few simple tools and materials, you can create beautiful and functional shelves that will impress your guests. Say goodbye to clutter and hello to organized living with DIY floating shelves. Get ready to transform your space with this practical and stylish storage solution. Let’s get started!
Floating shelves offer several benefits that make them a popular choice for homeowners. Firstly, they provide additional storage space without taking up valuable floor space. By mounting the shelves on the wall, you can free up your floor and create a sense of openness in the room.
Secondly, floating shelves are incredibly versatile. They can be installed in any room of the house, from the living room to the bathroom. You can use them to display books, plants, artwork, or any other decorative items you want to showcase. The possibilities are endless!
Another advantage of floating shelves is their aesthetic appeal. With their sleek and minimalistic design, they add a touch of elegance to any room. Whether you prefer a rustic, industrial, or modern look, there is a floating shelf design that will complement your style.
Installing floating shelves is also a cost-effective solution compared to hiring a professional. With a few basic tools and materials, you can create your own shelves at a fraction of the cost. Plus, the satisfaction of building something with your own hands is truly rewarding.
Before you start building your floating shelves, it’s important to gather all the necessary tools and materials. Here’s a list of what you’ll need:
Once you have all the necessary tools and materials, you’re ready to start building your DIY floating shelves.
When measuring for your floating shelves, it’s important to consider the weight of the items you’ll be placing on them. Heavier items may require additional support, such as thicker or reinforced wood boards.
Using a level is crucial for achieving straight and level shelves. It’s recommended to have a second person help you hold the level while you mark the positions and drill the pilot holes.
If you’re unsure about the placement or size of your shelves, consider creating a mock-up using cardboard or paper. This will allow you to visualize the final result before committing to the installation. For more guidance on woodworking projects, check here.
Floating shelves come in various designs and styles, allowing you to customize them to suit your personal taste and the decor of your room. Here are a few popular design options:
Remember, the design options are endless, so feel free to get creative and experiment with different materials, shapes, and sizes to achieve the desired look for your floating shelves.

Once your floating shelves are installed, it’s time to decorate and style them to enhance the overall aesthetic of the room. Here are a few ideas to get you started:
Remember to periodically update and rearrange your shelves to keep them fresh and interesting. Don’t be afraid to experiment with different combinations and arrangements until you find the perfect look for your space.
Maintaining your floating shelves is relatively simple. Regular dusting with a soft cloth or microfiber duster will help keep them clean and free from debris. Avoid using harsh chemicals or abrasive cleaners, as they may damage the finish or material of the shelves.
If your shelves are made of wood, it’s a good idea to periodically apply a coat of wood polish or wax to keep them looking fresh and prevent drying or cracking. This will also help protect the wood from moisture and stains.
In case of any spills or stains, clean them immediately using a damp cloth and mild soap or cleaning solution. Dry the shelves thoroughly to prevent water damage.
Congratulations! You have successfully built and installed your own DIY floating shelves. Not only have you created additional storage space, but you’ve also added a touch of elegance and style to your room.
Remember to enjoy the clutter-free environment and take pride in your DIY accomplishment. Whether you’re displaying your favorite books, showcasing family photos, or organizing decor items, your floating shelves will be a focal point in any room.
Experiment with different styling options and have fun updating and rearranging your shelves to suit your changing tastes. Embrace the versatility and functionality of your floating shelves and make the most of your newly organized space.
Say goodbye to clutter and hello to a beautifully organized home with DIY floating shelves. Get creative, be inspired, and enjoy the transformation you have made. Happy shelving!
Leave A Comment